
Paint Your Own Cake Toppers {DIY}
Adding a personal touch to your wedding cake has never been easier with this fun and creative DIY project: painting your own cake toppers! Whether you’re a seasoned artist or a novice crafter, this step-by-step guide will help you create unique and personalized cake toppers that reflect your style, personality, and love story. So grab your paintbrushes and let’s get started!
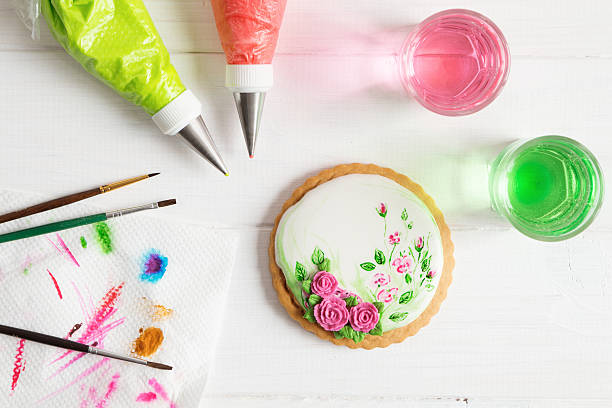
Materials Needed:
- Wooden or clay cake topper blanks
- Acrylic paints in your desired colors
- Paintbrushes in various sizes
- Pencil and eraser
- Clear sealant spray (optional)
- Palette or disposable plate for mixing paints
- Water cup for cleaning brushes
- Paper towels for blotting brushes
Step 1: Design Your Toppers
Start by sketching out your design ideas on paper. Consider incorporating elements that are meaningful to you and your partner, such as your initials, wedding date, favorite hobbies, or symbols that represent your love story. Once you’re happy with your designs, transfer them onto your cake topper blanks using a pencil.
Step 2: Paint the Base Coats
Using acrylic paints, begin by painting the base coats on your cake toppers. Start with the larger areas first, using a larger brush to apply the paint evenly. Allow each layer to dry completely before adding additional coats to ensure a smooth and opaque finish. You may need to apply multiple layers of paint to achieve the desired color intensity.
Step 3: Add Details and Accents
Once the base coats are dry, use smaller brushes to add details and accents to your cake toppers. This is where you can let your creativity shine! Experiment with different brush strokes, textures, and techniques to create depth and dimension in your designs. Don’t be afraid to mix and blend colors to achieve unique effects.
Step 4: Let Dry and Seal (Optional)
Once you’re happy with your designs, allow your cake toppers to dry completely before handling them. If desired, you can seal your finished cake toppers with a clear sealant spray to protect the paint and add a glossy finish. Be sure to follow the manufacturer’s instructions for the best results.
Step 5: Attach to Your Cake
Once your cake toppers are dry and sealed (if applicable), it’s time to attach them to your wedding cake! Use a small amount of frosting or edible glue to secure the toppers in place on the cake tiers. Take care when handling the cake toppers to avoid smudging or damaging the paint.
Step 6: Enjoy and Display
Once your cake is assembled and adorned with your beautiful hand-painted cake toppers, step back and admire your handiwork! Your personalized cake creation is sure to be a showstopper at your wedding reception. After the festivities, you can display your cake toppers as keepsakes or mementos of your special day.
Tips and Tricks:
- Practice on scrap paper or spare cake topper blanks before painting your final designs to get a feel for the paintbrushes and techniques.
- Use a fine-tip brush or toothpick to add small details and intricate designs to your cake toppers.
- Allow each layer of paint to dry completely before adding additional layers to avoid smudging or streaking.
- Clean your paintbrushes thoroughly between colors to prevent muddying the paint and maintain color purity.
- Have fun and don’t be afraid to experiment with different colors, patterns, and styles to create unique and personalized cake toppers that reflect your love and creativity.
With these simple steps and a little creativity, you can paint your own cake toppers and add a personal touch to your wedding cake that will delight and impress your guests. So roll up your sleeves, unleash your inner artist, and let your love shine through in every brushstroke!